I've been putting off writing this post for months, because I kept hoping I'd get "just one more" project done. I came to the realization that it would never be perfect enough or clean enough or feel done, so I may as well just go ahead and share where I'm at now.
Our entire 1988 house was outfitted with the standard of the day, honey-oak everything. I've been painting/re-staining, bit by bit, and I'm slowly making progress. I had planned to hold off on the kitchen until we could do a semi-remodel, but I couldn't handle the ugly anymore and decided (three weeks before hosting my sister-in-law's baby shower, mind you) to tackle the cabinets.
The kitchen already feels kind of closed in so I knew I didn't want to re-stain the cabinets with the General Finishes Antique Walnut Gel Stain that I've been using throughout the house. I despised the gray 12x12 tile backsplash but I felt more neutral toward the corian countertops (color: everest). I feel like it looks a little nicer than laminate and it's in good shape. So the goal was to pick a cabinet finish that made the countertop look intentional since I knew replacing it was not in the cards.
 That's when my search led me to gray. Apparently it's trendy? I wanted a true grey that complimented the slate blue walls I had just repainted. This is my goldilocks of paint color selection. : ) I bought little paint samples, mixed up my chalk paint and tested them out on an end cabinet. Nothing was quite right until I mixed the too dark with the too light.
Perfection!
I took my samples back to the store and asked them to split the difference (they were very similar formulas) and voila! Just right.
Now, I've done alot of trial and error since I've started my mix-your-own-chalk-paint adventure. I think I've settled on what seems to work the best for me.
First, choose your color and have it mixed in the flat latex paint of your choosing.
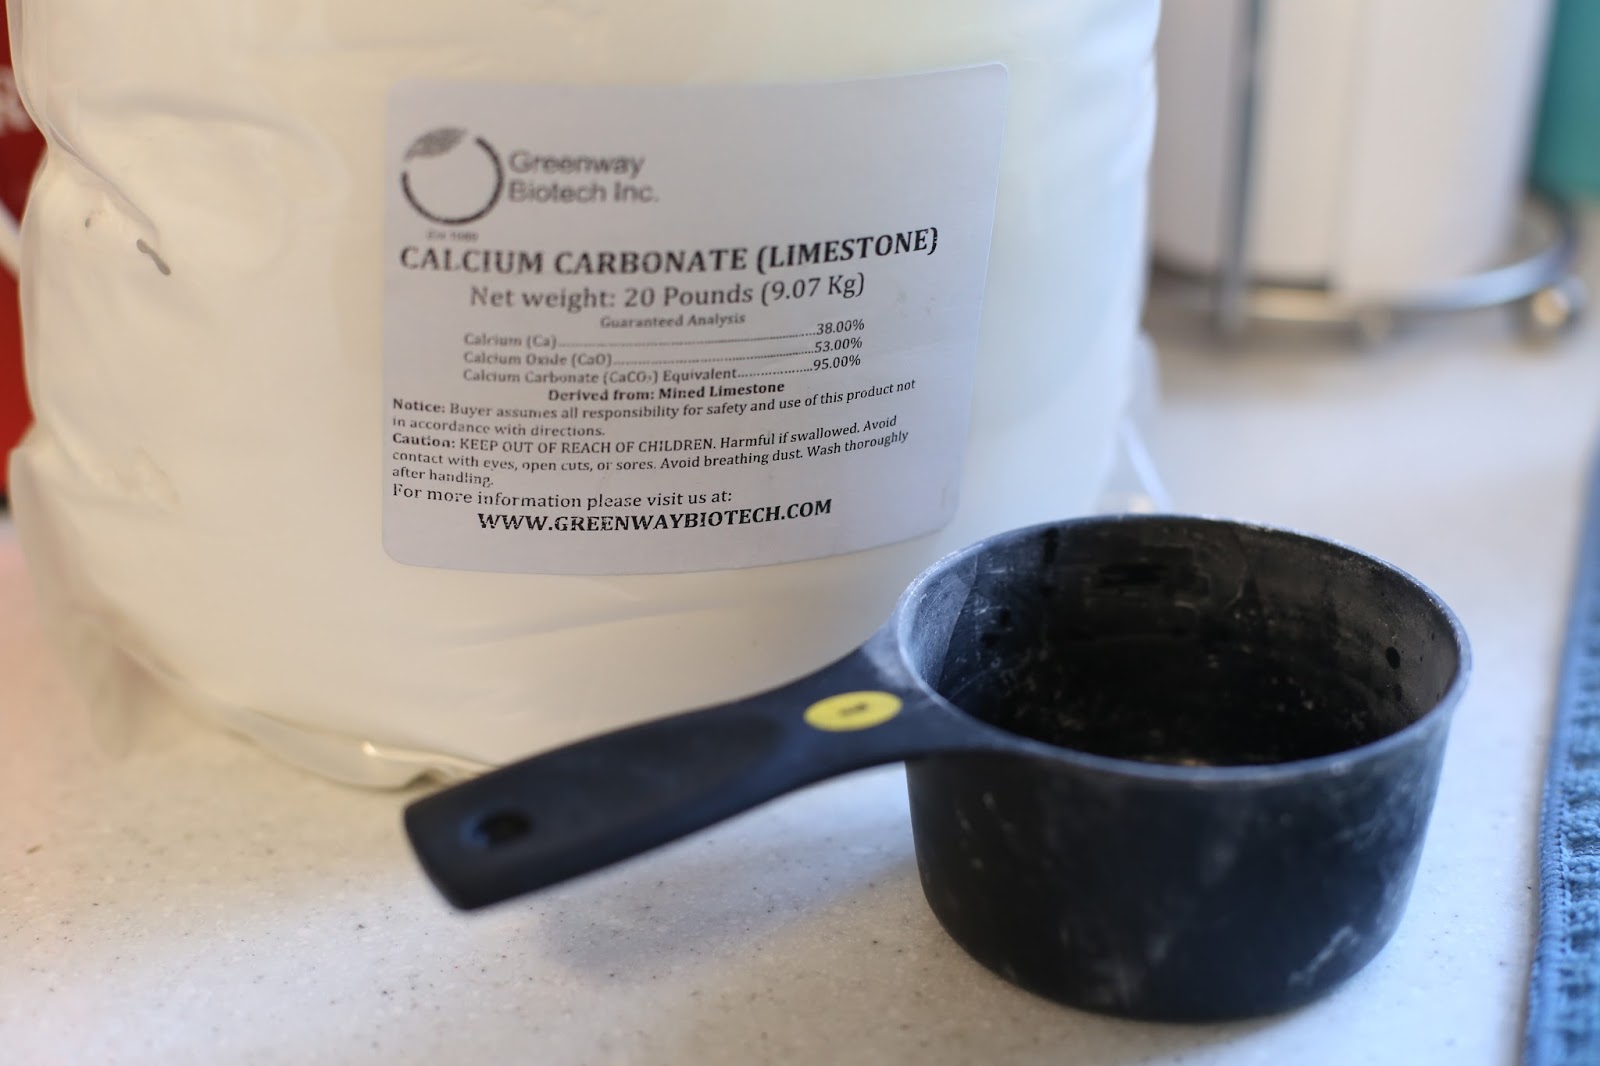
In a bowl, pour 1 cup of calcium carbonate powder. You can buy it really easily on amazon.

Mix in just enough water to make a thick paste. This seems to help dissolve the powder and help with clumping.
Then pour in 1 cup of your flat latex paint and mix well. I actually used my old hand mixer and it worked nicely.
2 coats of chalk paint, followed my 2 coats of polycrylic and you're done. ; )
Ok, so it's not exactly an afternoon project, but you CAN transform your kitchen. It doesn't have to be so intimidating.
I swapped out the worn, brass pulls for simple bar pulls for the doors and cup pulls on the drawers. I borrowed both nickel and bronze pulls from around the house and settled on nickel for the cabinets. I'm told you can mix metals now?
I sold one of the kids to purchase new hinges. Not really, but those suckers are expensive...
So here's the big reveal of phase one:


I restained the desk top and found a chair on Craiglist that matches nearly perfectly. : ) I still need to paint the inside of the glass door area and put up the "tin" in the back. Phase 2 includes moving the microwave and cutting back that shelf for open shelving.
 Can't say I love these lights, but it's not quite so offensive in grey. Phase 2 will include cutting back the peninsula and adding an island with a custom circular breakfast area (like this). We'll take out that light and install 2 pendant lights over the straight part of the island.
  When we cut back the peninsula we're either going to have to do some floor patching or replace the flooring. I'd love to do a wide plank in the dark walnut we've been using throughout the house.
 I still need to paint this window trim. Unfortunately, this is a NEW vinyl window with fake oak grain. : / Wish they hadn't done that... not sure what I'm going to do to change it... ideas?
 The plan is to knock out this wall and get rid of the picture window, so it'll be a big opening leading to the living room. I guess I didn't get the doorway to the left in the picture, but imagine about 10 ft wide and 7 ft high. I'd love to add faux beams across the ceiling about every 5 feet too. We'll move/replace the light so it's centered over the new eating area off the island. The flow of this area is so horrible. I'm really hoping this will help make the kitchen more user-friendly with easier access to the backyard.
 Currently I'm thinking to raise the small cabinets and install an over the range microwave. I'm still waffling on that, but we definitely don't like it where it is now.
The door to the right leads to our pantry/laundry room. It originally had a bi-fold door that opened against that small base cabinet. I took it off to restain and decided I liked it better off! I think I'll put a barn door on the other side so I can still shut it to muffle the washer/dryer noise.
In this last picture, you can see how we "beefed up" the base moulding and painted the garage door with chalkboard paint. I'll share the details of how to achieve this wide baseboard look when I post on our new powder room.


 I've been letting the paint marinate for awhile and I keep coming back to it feeling a bit flat. I'll probably add a black glaze at some point to bring out the detail and give it some dimension.
Thanks for reading! I'd love to hear your feedback!